How to Fix a Scratch on an LCD Screen

Introduction:
Scratches on your LCD screen can be an eyesore, especially when watching your favorite movies or playing video games. Thankfully, there are ways to fix minor scratches and restore your screen’s original beauty. In this article, we will discuss methods for fixing a scratch on an LCD screen without causing additional damage.
Materials Needed:
– Microfiber cloth
– Water
– Isopropyl alcohol (optional)
– Petroleum jelly or toothpaste (non-gel, non-abrasive)
– Cotton swabs
– Painter’s tape or masking tape
Step by Step Guide:
1. Prepare your work area:
Ensure that the area you will be working in is clean and free of dust. Turn off the device and unplug it from the power source. Lay the screen on a flat surface with the scratched side facing upwards.
2. Clean the scratched area:
Dampen a microfiber cloth with water or a mixture of equal parts water and isopropyl alcohol, then gently wipe the area around the scratch to remove any dirt or debris. Be careful not to apply too much pressure, as this can cause further damage to the screen.
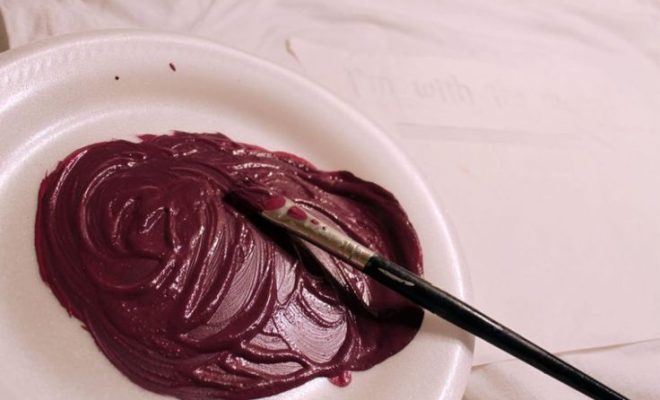
3. Apply a gentle abrasive:
Using either petroleum jelly or toothpaste (remember – non-gel, non-abrasive), apply a small amount onto a cotton swab. Gently rub the abrasive over the scratch in a circular motion for about 30 seconds to one minute. This will help to fill in minor scratches and reduce their visibility.
4. Remove excess abrasive:
Wipe away any excess petroleum jelly or toothpaste with a clean, damp microfiber cloth. Be sure not to use excessive force or scrubbing motions that could potentially damage your screen.
5. Protect other areas of the screen:
Apply a small piece of painter’s tape or masking tape over any buttons, ports, or openings surrounding the scratched area. This is to prevent any accidental damage during the next step.
6. Buff the scratch:
Using a clean, dry microfiber cloth, gently buff the area where the scratch was located in a circular motion for approximately two minutes. This will help to smooth out any remaining abrasive and remove minor scratches or scars left on the surface.
7. Clean the area again:
Carefully remove the tapes and use a damp microfiber cloth to clean any residual abrasive from your screen.
8. Power up and check your work:
Plug in the device and turn it back on to assess your repair work. If you’re unsatisfied with the results, you can repeat steps 3 through 7 as needed.
Conclusion:
While removing scratches from an LCD screen can be a delicate process, it is certainly achievable with patience and care. Keep in mind that these methods are most effective for minor scratches; if you have a deep scratch or crack on your screen, it may require professional repair or even replacement.