Easy Ways to Get a Tire Off a Rim
Tires are an essential part of any vehicle, ensuring both safety and performance on the road. Over time, tires wear down and need replacing. When it comes to changing a tire, one of the tasks that often poses a challenge is getting the tire off the rim. This article will guide you through the process in a few easy steps.
1. Gather your tools and materials:
To start, make sure you have all the necessary tools on hand:
– Tire irons (2 or 3)
– Wheel clamp or tire changer
– Rubber mallet
– Valve core removal tool
– Soapy water solution with spray bottle
– Lubricant such as WD-40
2. Remove the air and the valve core:
Before attempting to remove the tire from the rim, completely deflate it first. Unscrew the valve cap and use the valve core removal tool to take out the valve core and release all remaining air from inside.
3. Break down the bead of the tire:
The bead of the tire is where it connects with the rim, creating an airtight seal. Breaking it down means separating it from the rim by loosening its grip. Using a wheel clamp or tire changer for stability, spray soapy water onto both sides of the bead to lubricate it.
Apply gentle pressure around both sides of the tire with a rubber mallet to break down the bead further. You can also step on areas where there appear to be gaps between bead and rim to encourage separation.
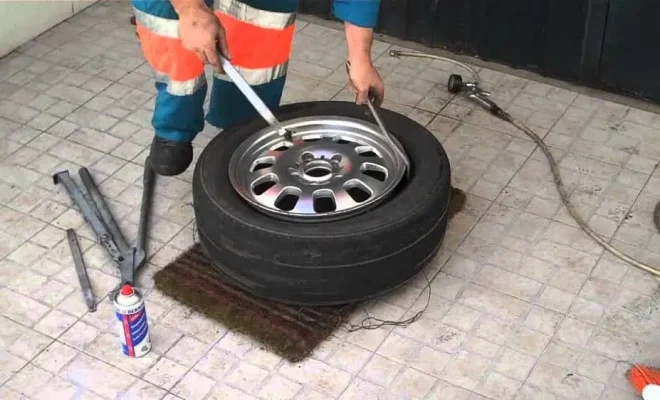
4. Lever off one side of the tire:
Place one of your tire irons under an edge of the bead, making sure not to damage your rim in doing so. Use leverage to pry up until you’ve lifted part of the bead over the rim’s edge.
Take another tire iron and repeat this process about six inches away from the first one. Alternate between the two irons until one side of the tire fully detaches from the rim.
5. Lever off the other side of the tire:
Using the same method with your tire irons, carefully pry off the second side of the tire while maintaining a gap with the first detached side.
6. Remove any stubborn spots:
Sometimes, there will be stubborn spots where the bead refuses to go over the edge of the rim. Spray some more lubricant like WD-40 onto these areas, being cautious not to spray where you will be gripping with tools.
You might need to employ more force at this stage, repeatedly using your levers and patience to pry loose these final challenges.
7. Clean and inspect your rim:
Now that you’ve completely detached your tire from the rim, make sure to clean any debris or dirt from it. Inspect for signs of damage to ensure a smooth replacement process.
By following these straightforward steps, you can effectively remove a tire from its rim with minimal difficulty. Make sure all tools are in working order and maintain safety precautions at all times while performing this task. Happy tire changing!